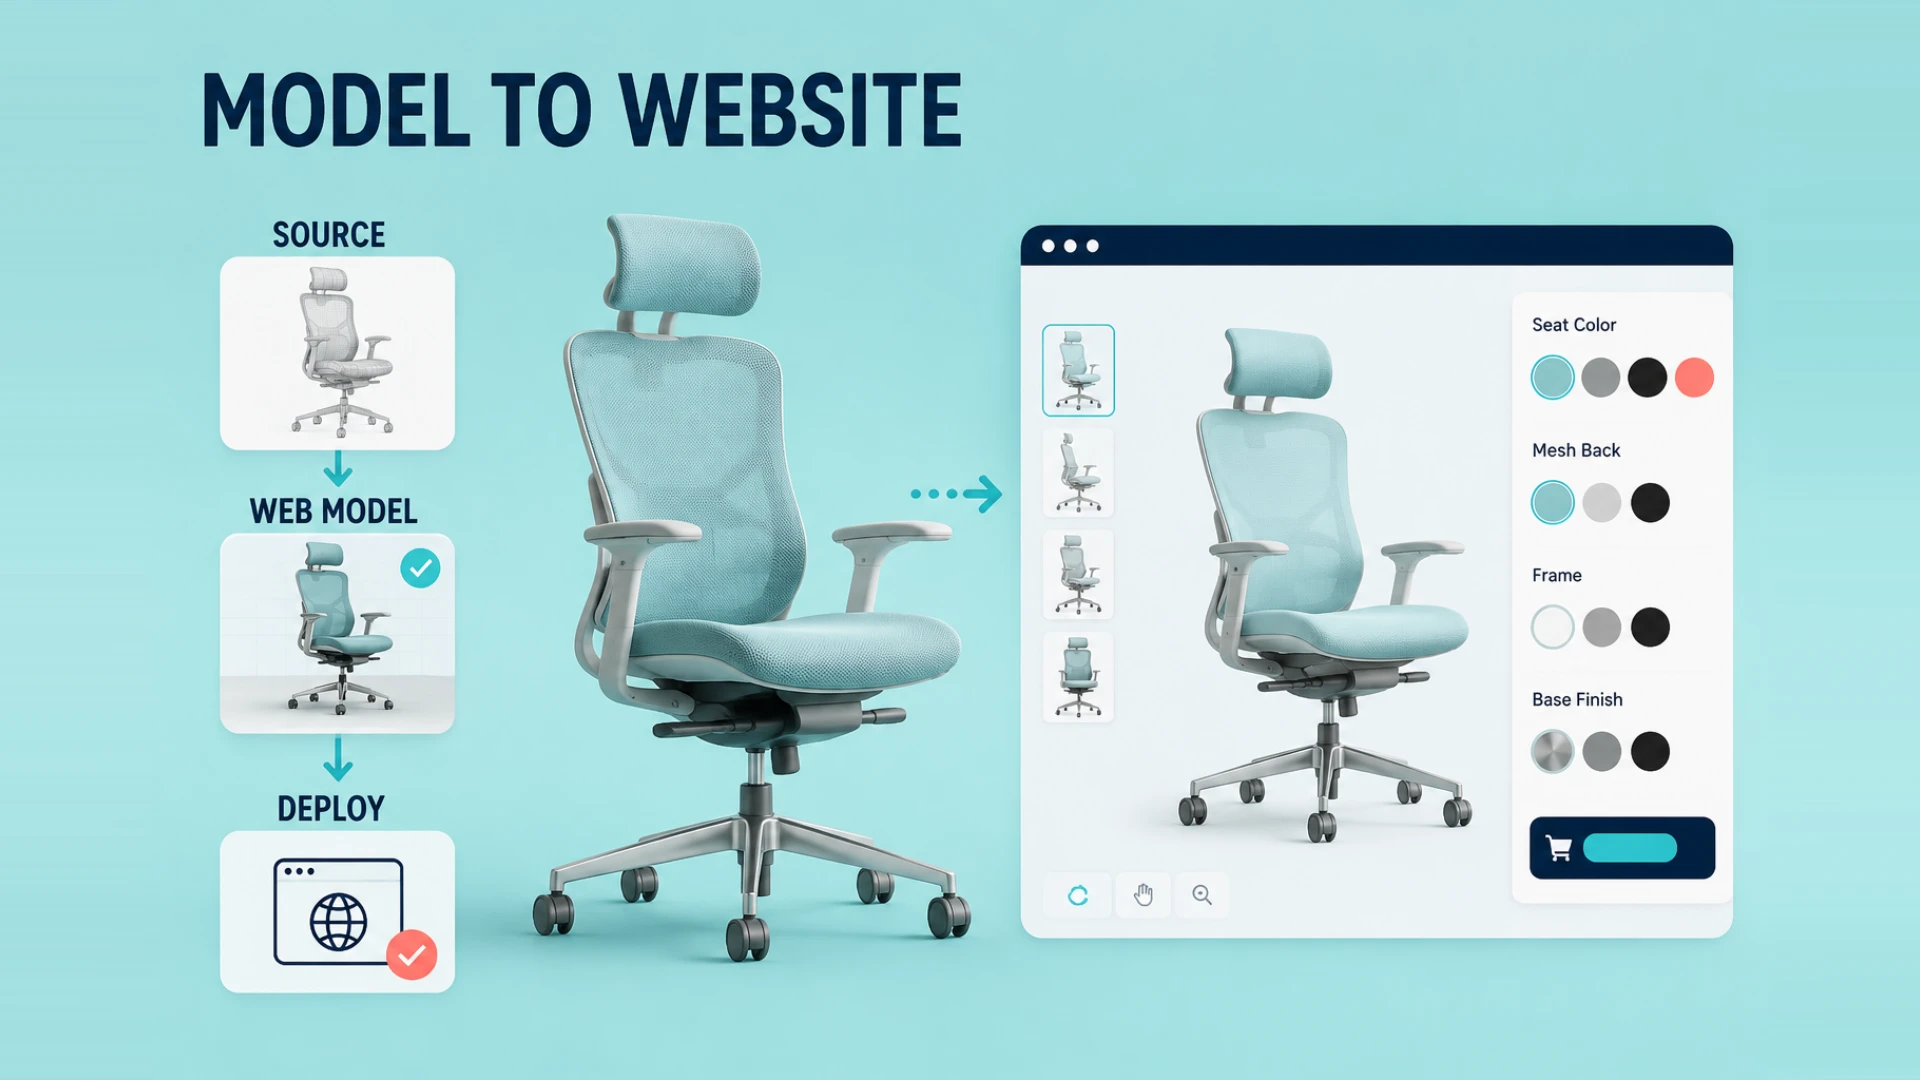
Adding a 3D model to a website is not the same as uploading a CAD, FBX, or OBJ file to a server. A production-ready Web3D experience needs the right asset pipeline, browser rendering approach, interaction design, loading strategy, and business handoff. Without them, a model that looks acceptable on a desktop can load slowly, overheat a phone, or leave visitors with a blank screen.
This guide is for company websites, ecommerce product pages, and sales experiences. It covers the process from defining the use case through launch validation. The goal is not simply to add a rotating object. It is to help visitors understand a product and move naturally to an enquiry, quote, or purchase.
First decide: do you need a viewer, a configurator, or static content?
Set the job to be done before you begin modeling or development. These three paths have different costs, technical requirements, and page structures:
- 3D product viewer: best for showing form, structure, details, or operation. Visitors can rotate, zoom, open hotspots, use a section view, or follow an animation.
- 3D product configurator: best when colours, materials, parts, dimensions, or combinations affect a quote, order, or production decision. It must handle option rules, SKUs, pricing, or lead data.
- Static images and video: often enough when visitors do not need to explore a product themselves and a clear visual explanation already exists.
Use the customer decision as the test. Does the visitor need to compare configurations, understand a structure that photographs cannot explain, or confirm the final result before submitting an enquiry? A 3D effect that is only decorative rarely justifies the investment. An experience that reduces uncertainty or moves a sales step forward does.
Step 1: prepare 3D assets for the web
Design teams commonly provide CAD, Rhino, SolidWorks, OBJ, or FBX files. These files are useful for design and manufacturing, but they are not ready for a browser. Web delivery usually uses .glTF or the binary .GLB container because they package meshes, materials, textures, and animation in a browser-friendly format supported by modern Web3D engines.
The asset pipeline should include at least the following work:
- Define the visible scope: keep only parts a visitor will see, interact with, or need to understand. Internal and hidden geometry should not be downloaded.
- Set a mesh budget: choose polygon density for the intended camera distance and screen size instead of exporting the original high-poly design model.
- Rebuild web materials: preserve the important PBR appearance while avoiding oversized or redundant textures.
- Compress and package assets: use mesh compression such as Draco or Meshopt and web-appropriate compressed textures. For the format decision, read GLB vs glTF: Which 3D Model Format Is Better for Websites?.
- Prepare fallbacks: provide a poster image, video, or explanatory content for weak devices, slow networks, and environments without WebGL.
File size alone is not the success metric. A model also needs acceptable time to first interaction, texture-memory use, device heat, and coexistence with the rest of the page.
Step 2: choose the right website implementation path
Use <model-viewer> for a standard embedded viewer
When a page needs 360-degree viewing, zooming, and basic AR support, <model-viewer> is a low-complexity option. It works well for articles, a limited set of product pages, or an initial pilot:
<model-viewer
  src="/models/product.glb"
  alt="3D product model"
  camera-controls
  loading="lazy"
  poster="/images/product-poster.webp">
</model-viewer>
You still need to test resource size, lazy-loading timing, the poster image, and mobile behaviour. The component reduces implementation effort; it does not automatically fix oversized assets or weak page design.
Build a custom experience with Three.js or Babylon.js
Projects that need hotspot explanations, guided cameras, section views, animation, interactive states, analytics, or business-system integration usually require a custom implementation with Three.js, Babylon.js, or a comparable stack. This path fits high-consideration products, industrial equipment, complex structures, and branded marketing experiences.
The key is not to make a visually busy scene. Define measurable tasks instead: did a visitor see a critical product benefit, finish an important configuration, or click an enquiry or add-to-cart action? The 3D canvas should help these tasks, not obscure page content or slow down the first screen.
Upgrade a viewer into a product configurator
When a product has options, compatibility logic, quotation needs, or ordering requirements, a viewer is only the starting point. A configurator must manage colours, materials, parts, dimensions, rules, SKUs, pricing, and exported data. Explore our 3D product configurator development solution to define the configuration scope, data sources, and sales workflow before development begins.
Step 3: design interaction around a product decision
Visitors do not automatically understand a product just because they can rotate it. Arrange the experience around the questions they actually need answered:
- Which product versions or configurations matter?
- What details cannot be understood from standard imagery?
- Is this configuration suitable for the current use case?
- After exploring, should the visitor request a quote, book a demo, add to cart, or download material?
Useful patterns include focused camera views, part hotspots, guided stories, exploded views, specification comparison, and a clear CTA. On ecommerce pages, keep colour and configuration changes in sync with price, stock, SKU, and purchase actions. On B2B pages, pass the selected configuration, key parameters, or saved imagery into the enquiry form and sales follow-up.
For a complex-product explanation, start with our Web3D product viewer solution. Use the configurator path when options themselves affect a sale or production process.
Step 4: protect performance and SEO from the start
Performance is not a final-stage model-compression task. It has to cover asset delivery, frontend code, and the page experience together:
- Load headings, product value, a poster, and the CTA before starting the full 3D experience.
- Use a poster or static screenshot to avoid an empty canvas, and provide fallback content for devices without WebGL.
- Adjust pixel ratio, shadows, post-processing, animation, and texture quality to device capability.
- Cache models, textures, and decoder resources through a CDN instead of redownloading large files on each visit.
- Test LCP, interaction delay, memory use, and stability on real devices and 4G or slower connections.
For Google, a 3D canvas does not replace indexable page content. The page still needs a descriptive heading, product copy, specifications, crawlable text, image alt text, structured internal links, and useful business information. For the detailed work on mesh reduction, texture compression, formats, and runtime loading, continue to How to Optimize 3D Models for the Web.
Step 5: validate before launch
Before release, ask product, design, development, and sales teams to confirm the following:
- The experience works on desktop, iOS Safari, Android Chrome, and the intended screen sizes.
- On a first visit or slow connection, meaningful page content appears before the model and there is no prolonged blank state.
- The default camera, hotspots, animations, copy, and CTAs describe the correct product information.
- Configurator options, prices, SKUs, stock, and submitted form data match the relevant business system.
- Viewer starts, important interactions, completed configurations, and CTA clicks are tracked so business impact can be measured.
- Every 3D page includes indexable headings, copy, image alternatives, and links to relevant cases or guides.
What to confirm in a production handoff
Whether the project is built internally or by a delivery partner, document the ownership of source and optimized assets, model and texture standards, frontend code, embedding method, CMS or API documentation, analytics events, performance targets, browser support, and post-launch maintenance. This prevents every new product, material change, or site migration from becoming a new 3D production project.
FAQs
Can we place existing CAD models directly on a website?
Usually not. CAD assets need to be cleaned, reduced, rebuilt for web materials, texture-compressed, converted, and tested in the browser for their intended use.
Will a 3D model slow down our website?
It can if the resource budget or loading strategy is wrong. Asset budgets, progressive loading, device tiers, and static fallback content make the impact measurable and manageable.
Do we always need a 3D configurator?
No. A configurator is appropriate when visitors need to compare options or use a result for a quote, order, or production process. A 3D viewer is often more direct when the job is simply to explain the product.
How long does a Web3D project take to launch?
The timeline depends on asset quality, interaction complexity, required integrations, and performance acceptance criteria. Review the source assets and define the page scope before committing to a delivery schedule.
Next step: start with a focused pilot
Choose one product page with a clear sales goal and high explanation cost. Validate loading, engagement, and enquiries there before expanding across the product range. To review your current assets, page, and business flow, contact WESHOW3D or read our Ecommerce 3D Display and Interactive Web Models Guide.