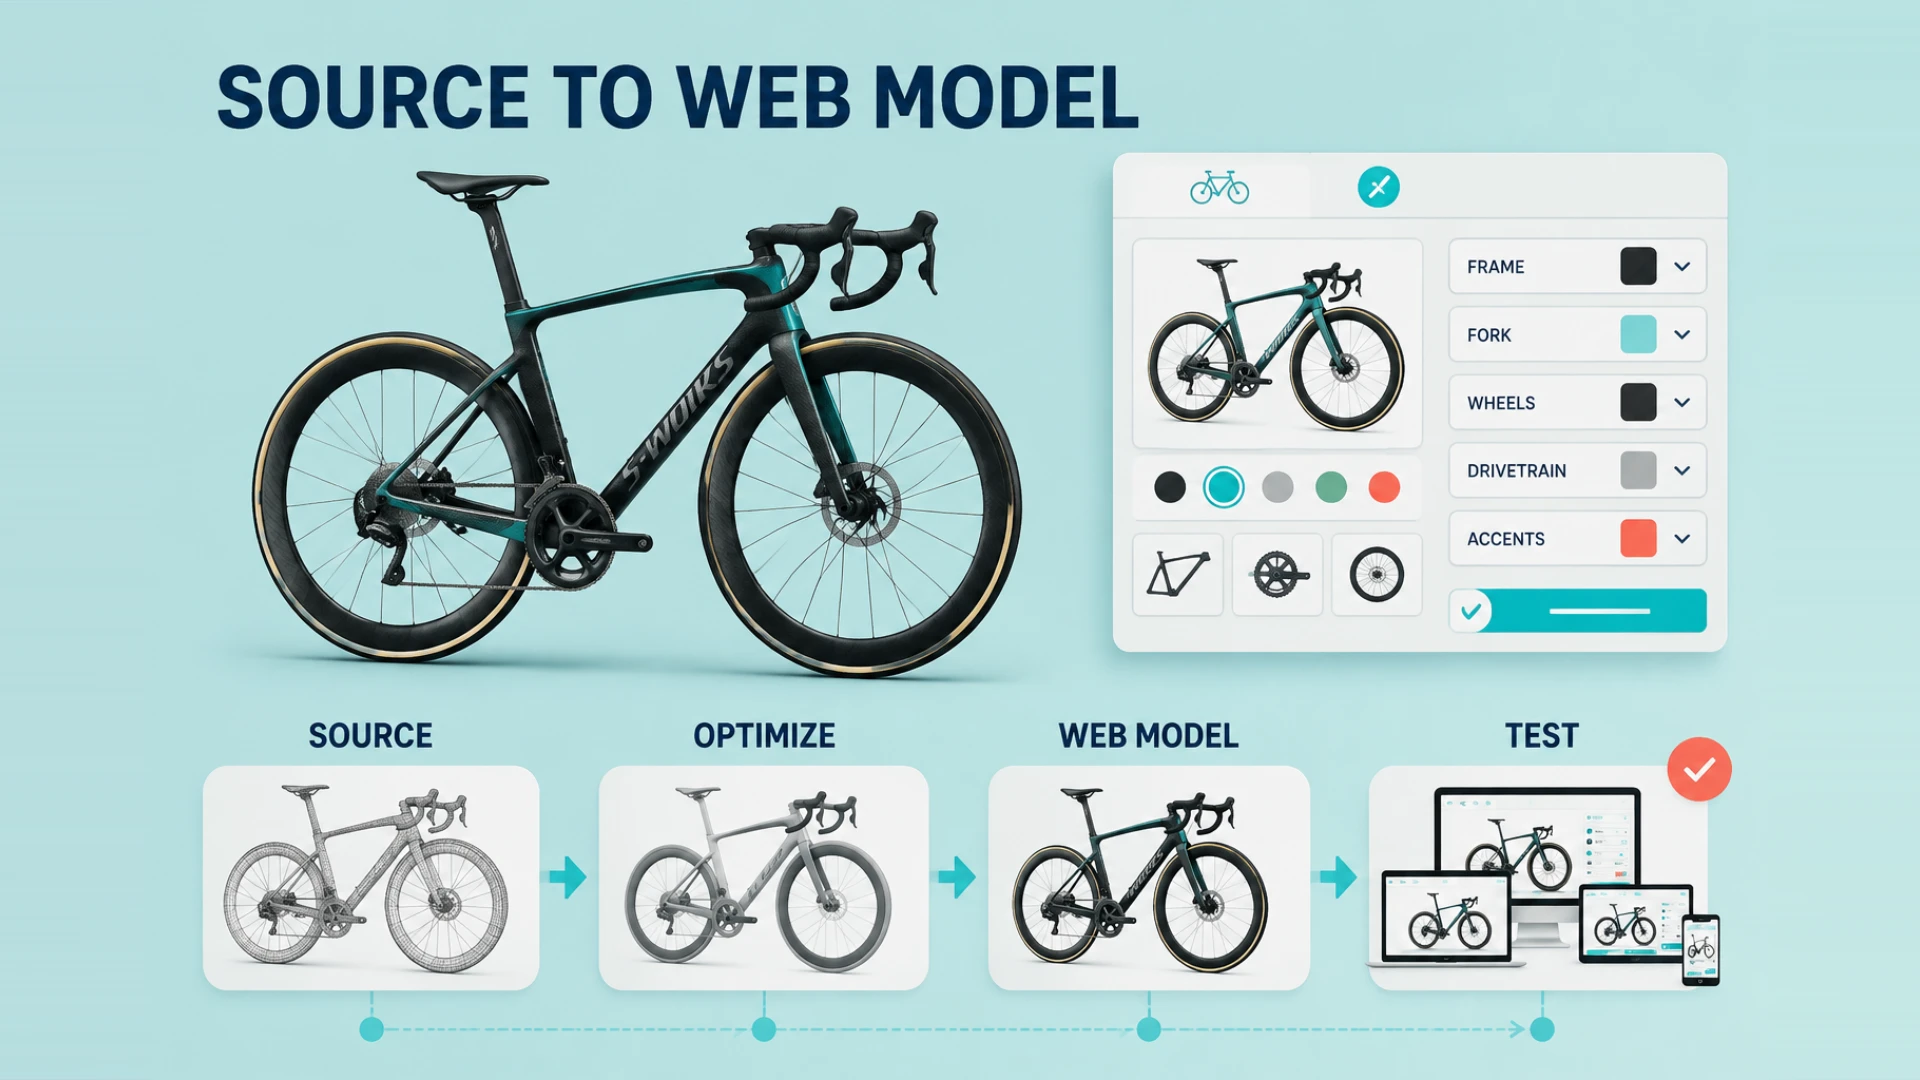
One of the most common mistakes in Web3D work is assuming that a 3D model that opens correctly is also ready for the web.
That is rarely true.
An asset can look perfectly fine in CAD, Blender, or a rendering tool and still fall apart inside a browser. Load times get ugly. Interaction becomes sluggish. Phones heat up. Materials lose detail. Shadows break down. Most of the time, the issue is not one dramatic mistake. It is that the whole asset pipeline was never prepared for browser delivery in the first place.
Start by Understanding Where the Model Came From
The right optimization workflow depends heavily on the source asset.
CAD Assets
CAD models are often extremely precise, but that precision comes at a cost. They carry huge polygon counts, dense curved surfaces, and internal parts the end user will never see.
DCC Assets
Assets from Blender, 3ds Max, or Cinema 4D tend to have different problems: messy materials, duplicated geometry, oversized texture sets, and poor naming discipline.
Already-Optimized Real-Time Assets
These are easier to work with, but they still are not automatically web-ready. Texture budgets, shader logic, and runtime delivery may still be too heavy for browser-based use.
That is why the first step is never "just decimate the mesh." The first step is identifying what kind of asset you are actually holding.
Decimation Only Works When It Follows User Attention
A lot of teams think optimization means reducing polygons as aggressively as possible. In practice, good optimization is really about deciding where polygons still matter.
Geometry Worth Keeping
- outer silhouette
- visible corners and edge transitions
- high-gloss surfaces where highlights travel clearly
- details users are likely to inspect up close
Geometry Worth Removing
- hidden internal structures
- backside parts that never appear in the intended view
- engineering details that matter in manufacturing but not in browsing
This is why a smart cleanup pass often beats blind decimation. Many browser performance issues are not caused by a model being "slightly too heavy." They are caused by shipping geometry the user never needed in the first place.
Bake High-Detail Information into Textures
For web delivery, the rule is simple: if detail can live in a texture map, it should not stay as live geometry unless absolutely necessary.
That is where normal maps, roughness maps, and ambient occlusion maps become essential. They let you preserve the visual richness of a high-poly model without forcing the browser to render all of that geometry directly.
Typical steps include:
- baking high-poly detail down to low-poly assets
- converting surface relief into normal maps
- moving soft shading detail into AO maps
- simplifying reflections through material logic instead of geometry
And if you want to push material realism further after optimization, this work connects directly to shader quality. Our WebGL shaders guide goes deeper into that side.
Texture Compression Is Usually More Important Than Teams Expect
Many teams spend all their time reducing polygons, then destroy the performance win with oversized textures.
On the web, textures often consume more memory than people realize. This becomes especially painful on mobile devices, where a few oversized textures combined with transparency and post-processing can destabilize the whole page.
In real projects, we usually recommend:
- standardizing texture sizes
- reusing maps where possible
- converting textures into web-friendly compressed formats
- reducing channel waste so each map does more work
The goal is not to make everything look blurry. The goal is to keep visual quality high without treating browser memory like a desktop rendering machine.
Runtime Strategy Still Matters After the Asset Is Clean
Even a well-optimized model can underperform if it is delivered badly.
That is why runtime strategy matters so much:
- only load what the first screen truly needs
- lazy-load supporting assets
- break large scenes into staged delivery
- use lower-detail variants where appropriate
- reduce shadow, transparency, and animation load on weaker devices
This is also where model optimization connects directly to publishing workflow. If you want the broader production view, our complete guide to adding 3D models to a website is the natural next step.
The Goal Is Not “Smallest Possible File”
At the end of the day, optimizing 3D models for web is not about winning a file-size contest.
It is about making sure the model can:
- load fast enough to keep attention
- rotate smoothly
- retain believable material quality
- stay stable on real mobile devices
- support product presentation and conversion goals
If a beautiful asset never becomes usable inside a browser, it is not helping the business.
That is the real point of web optimization: not smaller for its own sake, but lighter, cleaner, and far more practical for real customer-facing Web3D experiences.
If your next question is which file format makes more sense after optimization, continue with GLB vs glTF for Websites. And if the project is moving toward a full configurator rather than a simple viewer, Building a Product Configurator with Three.js is the natural next step.