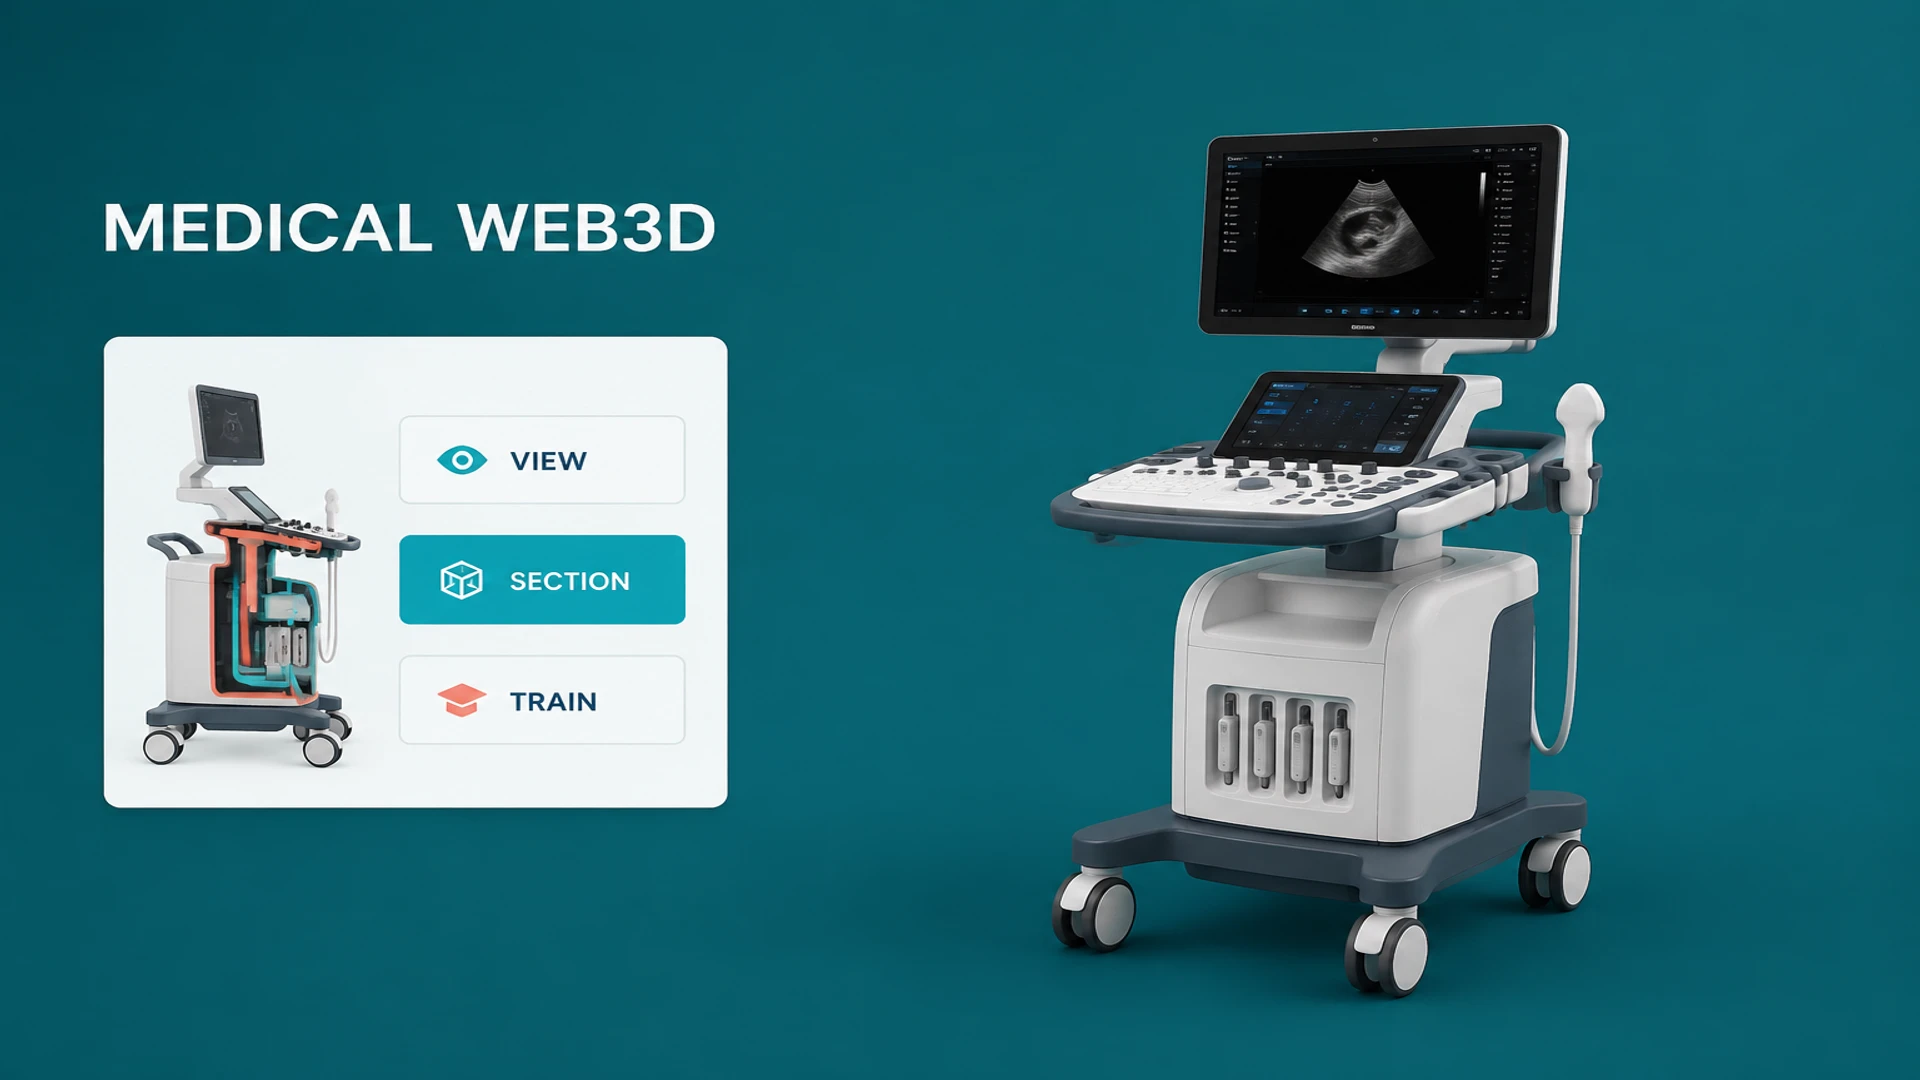
Medical device sales rarely depend on the outside shape alone. Hospitals, distributors, trainers and procurement teams may need to understand dimensions, interfaces, internal components, operating steps and the differences between product models. A static photo cannot answer all of those questions at once, especially for a catheter, surgical instrument, diagnostic device or complex piece of equipment.
That is where a Web3D medical device display can help. Users can rotate a product in a browser, zoom into a component, open a sectional state or follow a guided explanation on a desktop, tablet or exhibition touchscreen. The goal is not to turn a brochure into a decorative 3D object. The goal is to organize product knowledge into an experience that can be explored and reused.
Product display is different from medical training
The same Web3D foundation may support marketing, sales and education, but each use case needs a different content structure:
- Product display explains appearance, structure, specifications, materials and model differences.
- Sales demonstration turns key product points into a repeatable story for hospitals, distributors and partners.
- Medical training organizes learning objectives, steps, checkpoints and terminology, usually with review from qualified subject-matter owners.
A model that only spins in a browser may be insufficient for all three. Before development, define what the audience needs to understand, what action should follow, and whether the experience ends with an enquiry, a demo booking or a training module. Our Web3D product viewer solution is a useful starting point for product explanation, while 3D medical training is structured around guided learning.
What a medical device 3D display should explain
External structure and scale
Users need to confirm a product's form, interface locations, installation direction and dimensional relationships. Controlled camera views, measurement labels and focused zoom states can turn a polished model into useful product information. Scale is particularly important for products that must be placed near other equipment or used in a clinical environment.
Internal structure and operating principles
Sectional views, transparency states and guided layers can explain an internal relationship without asking a visitor to interpret a complex engineering drawing. A display might show catheter layers, a device flow path, an assembly relationship or how a component moves through an operating sequence. The visual state should be based on approved product information and should not imply unsupported clinical performance.
Components and model differences
Hotspots can connect a component to its name, specification, material information, a short video or a downloadable document. When several models are involved, a comparison flow can show what changes and what stays the same. This reduces the need for sales teams to switch between multiple PDF files while keeping the buyer focused on the relevant decision.
From CAD data to a browser-ready experience
1. Define the product content and review boundary
Useful inputs include CAD or 3D source files, specifications, structural diagrams, operating steps, model relationships, brand assets and target devices. A medical content owner should review terminology, component names and what is safe to publish. A visualization can explain structure, but it should not be presented as a diagnostic tool or a substitute for clinical judgment.
2. Build a lightweight web asset
Engineering files often contain hidden parts, repeated geometry and high-resolution materials that are unsuitable for real-time delivery. The asset pipeline may include removing irrelevant geometry, optimizing topology and hierarchy, rebuilding materials, separating interactive parts and exporting GLB or glTF. Preserve detail where it supports product understanding; reduce background and non-essential geometry where it does not.
3. Design guided interactions
Start with three to five core tasks, such as understanding the overall structure, locating an interface, inspecting an internal layer or comparing two models. Then design camera states, hotspots, sectional views, exploded views and transitions around those tasks. Mobile users need touch-friendly controls, while an exhibition display needs large targets, an obvious reset action and a state that is easy to repeat.
4. Connect the display to the business workflow
A medical Web3D display should have a next step. A website can connect to specification downloads, enquiry forms, demo requests and distributor contacts. An exhibition version can use a QR code to open the online product page after the visitor leaves the booth. A training version can organize content by chapter, role or learning task. WESHOW3D's Anping medical catheter project and Zhongyu medical training project illustrate how product explanation and guided learning can serve different goals.
Pre-launch checklist
- Test model loading, gestures, camera behavior and text legibility on desktop, tablet and mobile devices.
- Prepare an offline package, startup method, update process and recovery plan for exhibitions or restricted networks.
- Provide accurate labels and text alternatives for every hotspot and structural state.
- Define whether the primary CTA is an enquiry, demo request, download or training entry point, then track the relevant events.
- Version product terminology, specifications and 3D content together so updates do not leave the experience out of date.
Medical devices are a strong fit for Web3D because spatial structure, internal relationships and operating steps need to be explained. When product data, professional review, asset optimization and the sales workflow are planned together, a Web3D display can support the website, B2B sales, exhibitions and training. To scope a project, share the model, target devices and communication goal through the WESHOW3D services page.